Blogging and bread making
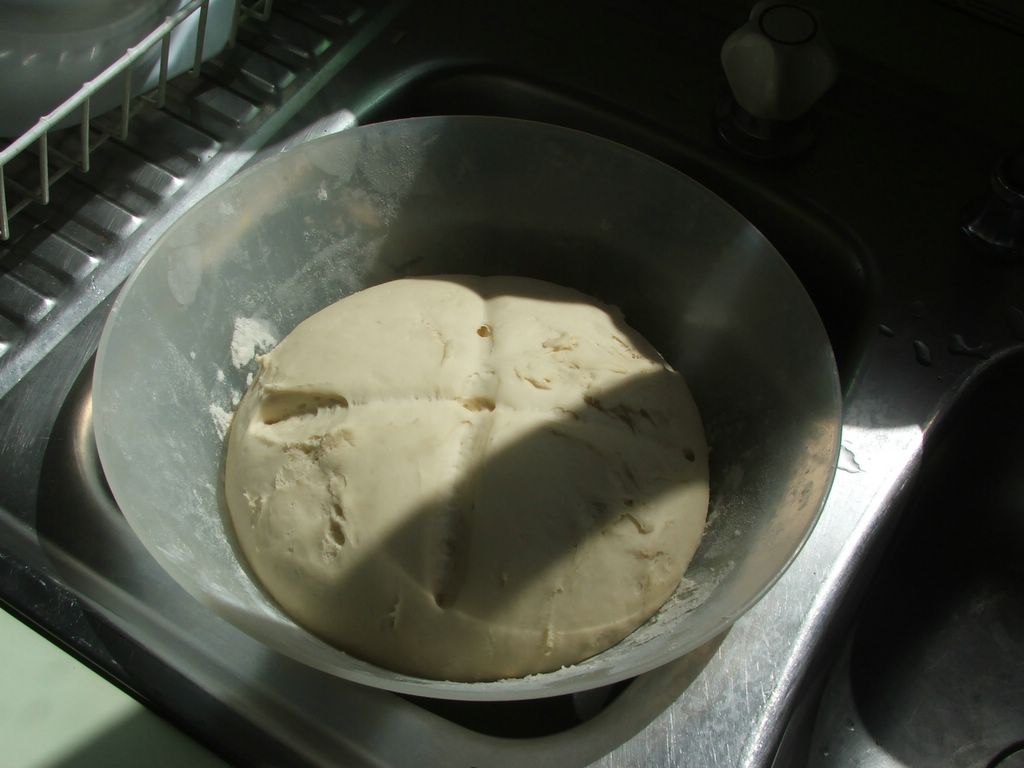
Proving

The above is my bread proving as I blog, would have taken a pic of the mixing but it was messy.
I thought I'd take a crack at bread making after seeing Jamie Oliver making his really simple basic bread recipe on the BBC DVD "The Naked Chef". There are some photos drom his DVD here of him making it. Bread has always been one of my weak cooking points and I'd love to cook it myself as I LOVE bread. Those electric bread maker thingies don't cut it as the skill level just ain't there, much like a popcorn maker. I want to get sticky dough on my hands, panic as I wonder if the dough is going to come off and them relax as it all comes together and I knead the warm loaf.
I've always enjoyed the way Jamie Oliver cooks, he really get physical with the food. Squeeze a lemon...... squeeze the guts out of it with your hands, grind up some herbs..... mash them to bits with a mortar and pestle and through in the whole mix.... wooody bits and all. There's a casualness and roughness along with a genuine air of enjoyment that I seem to identify and practice...... "blokey cooking" would be a good way to describe it. Yep, he's a little opportunistic but christ he makes cooking the way it should be....FUN!
I have fond memories of him hungover appearing on an Aussie morning chat show demonstrating how to whip up a "hangover breakfast" which consisted of scrambled eggs, bacon, good sausages, olives etc all mixed together served with some good bread and HP sauce. Simple and delicious. British cooking no longer seems to be a bit of roast beef served up with three limp overboiled veg.
Anyway here's his "foolproof" basic bread recipe. I'll see if it works. I'm going to toss some good Kalamata Olives, sundried tomato strips and rosemary on top.
BASIC BREAD RECIPE
Ingredients
30g/1oz fresh yeast or 3 x 7g sachets dried yeast
30g/1oz honey or sugar
625ml/just over 1 pint tepid water
1kg/just over 2lb strong bread flour
30g/1oz salt
some extra flour for dusting
Method
1 Dissolve the yeast and honey or sugar in half the tepid water.
2 On a clean surface or in a large bowl, make a pile of the flour and salt. On a clean surface or in a large bowl, make a pile of flour and salt. Make a well in the centre, and pour in the dissolved yeast mixture. With four fingers of one hand, make circular movements from the centre moving outwards, slowly bringing in more and more of the flour, until all the yeast mix is soaked up. Pour the other half of the tepid water into the centre, and gradually incorporate all the flour to make a moist dough. (Certain flours may need a little more water, so adjust the quantitites.)
3 Roll, push and fold the dough over and over for five minutes, to develop the gluten and structure of the dough. If any of the dough sticks to your hands, just rub them together with a little flour.
4 Flour both your hands well, and lightly flour the top of the dough. Make it into a roundish shape, and place on a baking tray. Deeply score the dough with a knife, allowing it to relax and prove with ease. Leave it to prove until it's doubled in size. Ideally you want a warm, moist, draught-free place for the quickest prove, for example near a warm cooker, in the airing cupboard or just in a warmish room, and you can even cover it with clingfilm, if you want to speed things up. This proving process improves the flavour and texture of the dough, and should take around 40 minutes, depending on the conditions.
5 When the dough has doubled in size, you need to knock the air out of it by bashing it around for a minute. Shape it into whatever shape you want - round, flat, filled, trayed up or tinned up - and leave it to prove for a second time until it doubles in size again. Don't feel a need to rush through this, because the second proving time will give it a lovely, delicate soft texture.
6 Now you want to keep all the air inside the loaf, so don't knock it. Gently place it in the preheat oven and don't slam the door. Bake according to the time and temperature given in the recipe variations. You can tell if your bread is cooked by tapping its bottom (take it out of the tin first!) If it sounds hollow, it's cooked. If not, put it back in the oven for a little longer. Place on a rack to cool.
Post baked edit. I mistakenly put this in the oven which had turned itself off via the timer, so it had even a LONGER time to prove and rise. As he says, the second proving is probably the most important to let it rise well giving a fluffy texture.
Jamie doesn't supply a baking time and temperature. I cooked it at 180 degrees centigrade for around thirty minutes. For a crustier loaf I'd say turn the temperature up to around 200.
Posted by Johnno at
11:02 am
![]()


3 Comments:
Cat blogging and now food blogging. Thanks for turning me on to Mssr Oliver's web site. Right away wham! His basic risotto, I never thought of using vermouth (I like da flavour in safely cooked foods). Minted pea and pancetta soup! Yum! I'm off to the kitchen (I'll leave you to the bakery).
By Peter (the other), at 12:05 pm
Yeah, he's pretty cool, experimenting with things I'd never think of. There again I've tried things too... for example a whole fish with lime juice and a Eucalyptus leaf, stuffed with pine nuts.
BTW he LOVES basil.
The bread turned out great!
By Johnno, at 2:12 pm
I start cooking with the same gusto as J.O, but end with as much enthusiasm and ability as a wet sock. My missus adores both him and his recipes. Then she cooks the food for me. Gotta say he does good work.
By Anonymous, at 3:45 pm
Post a Comment
<< Home